
Container Displays by Jane Sanem

Did you come home from the Seattle NAME convention with really cute tote bag favors, swaps, table exchanges, etc. and you have no idea what to do with them? Or, do you have collections of Christmas or Halloween minis you don’t know what do with? I found a great way to display these treasurers.
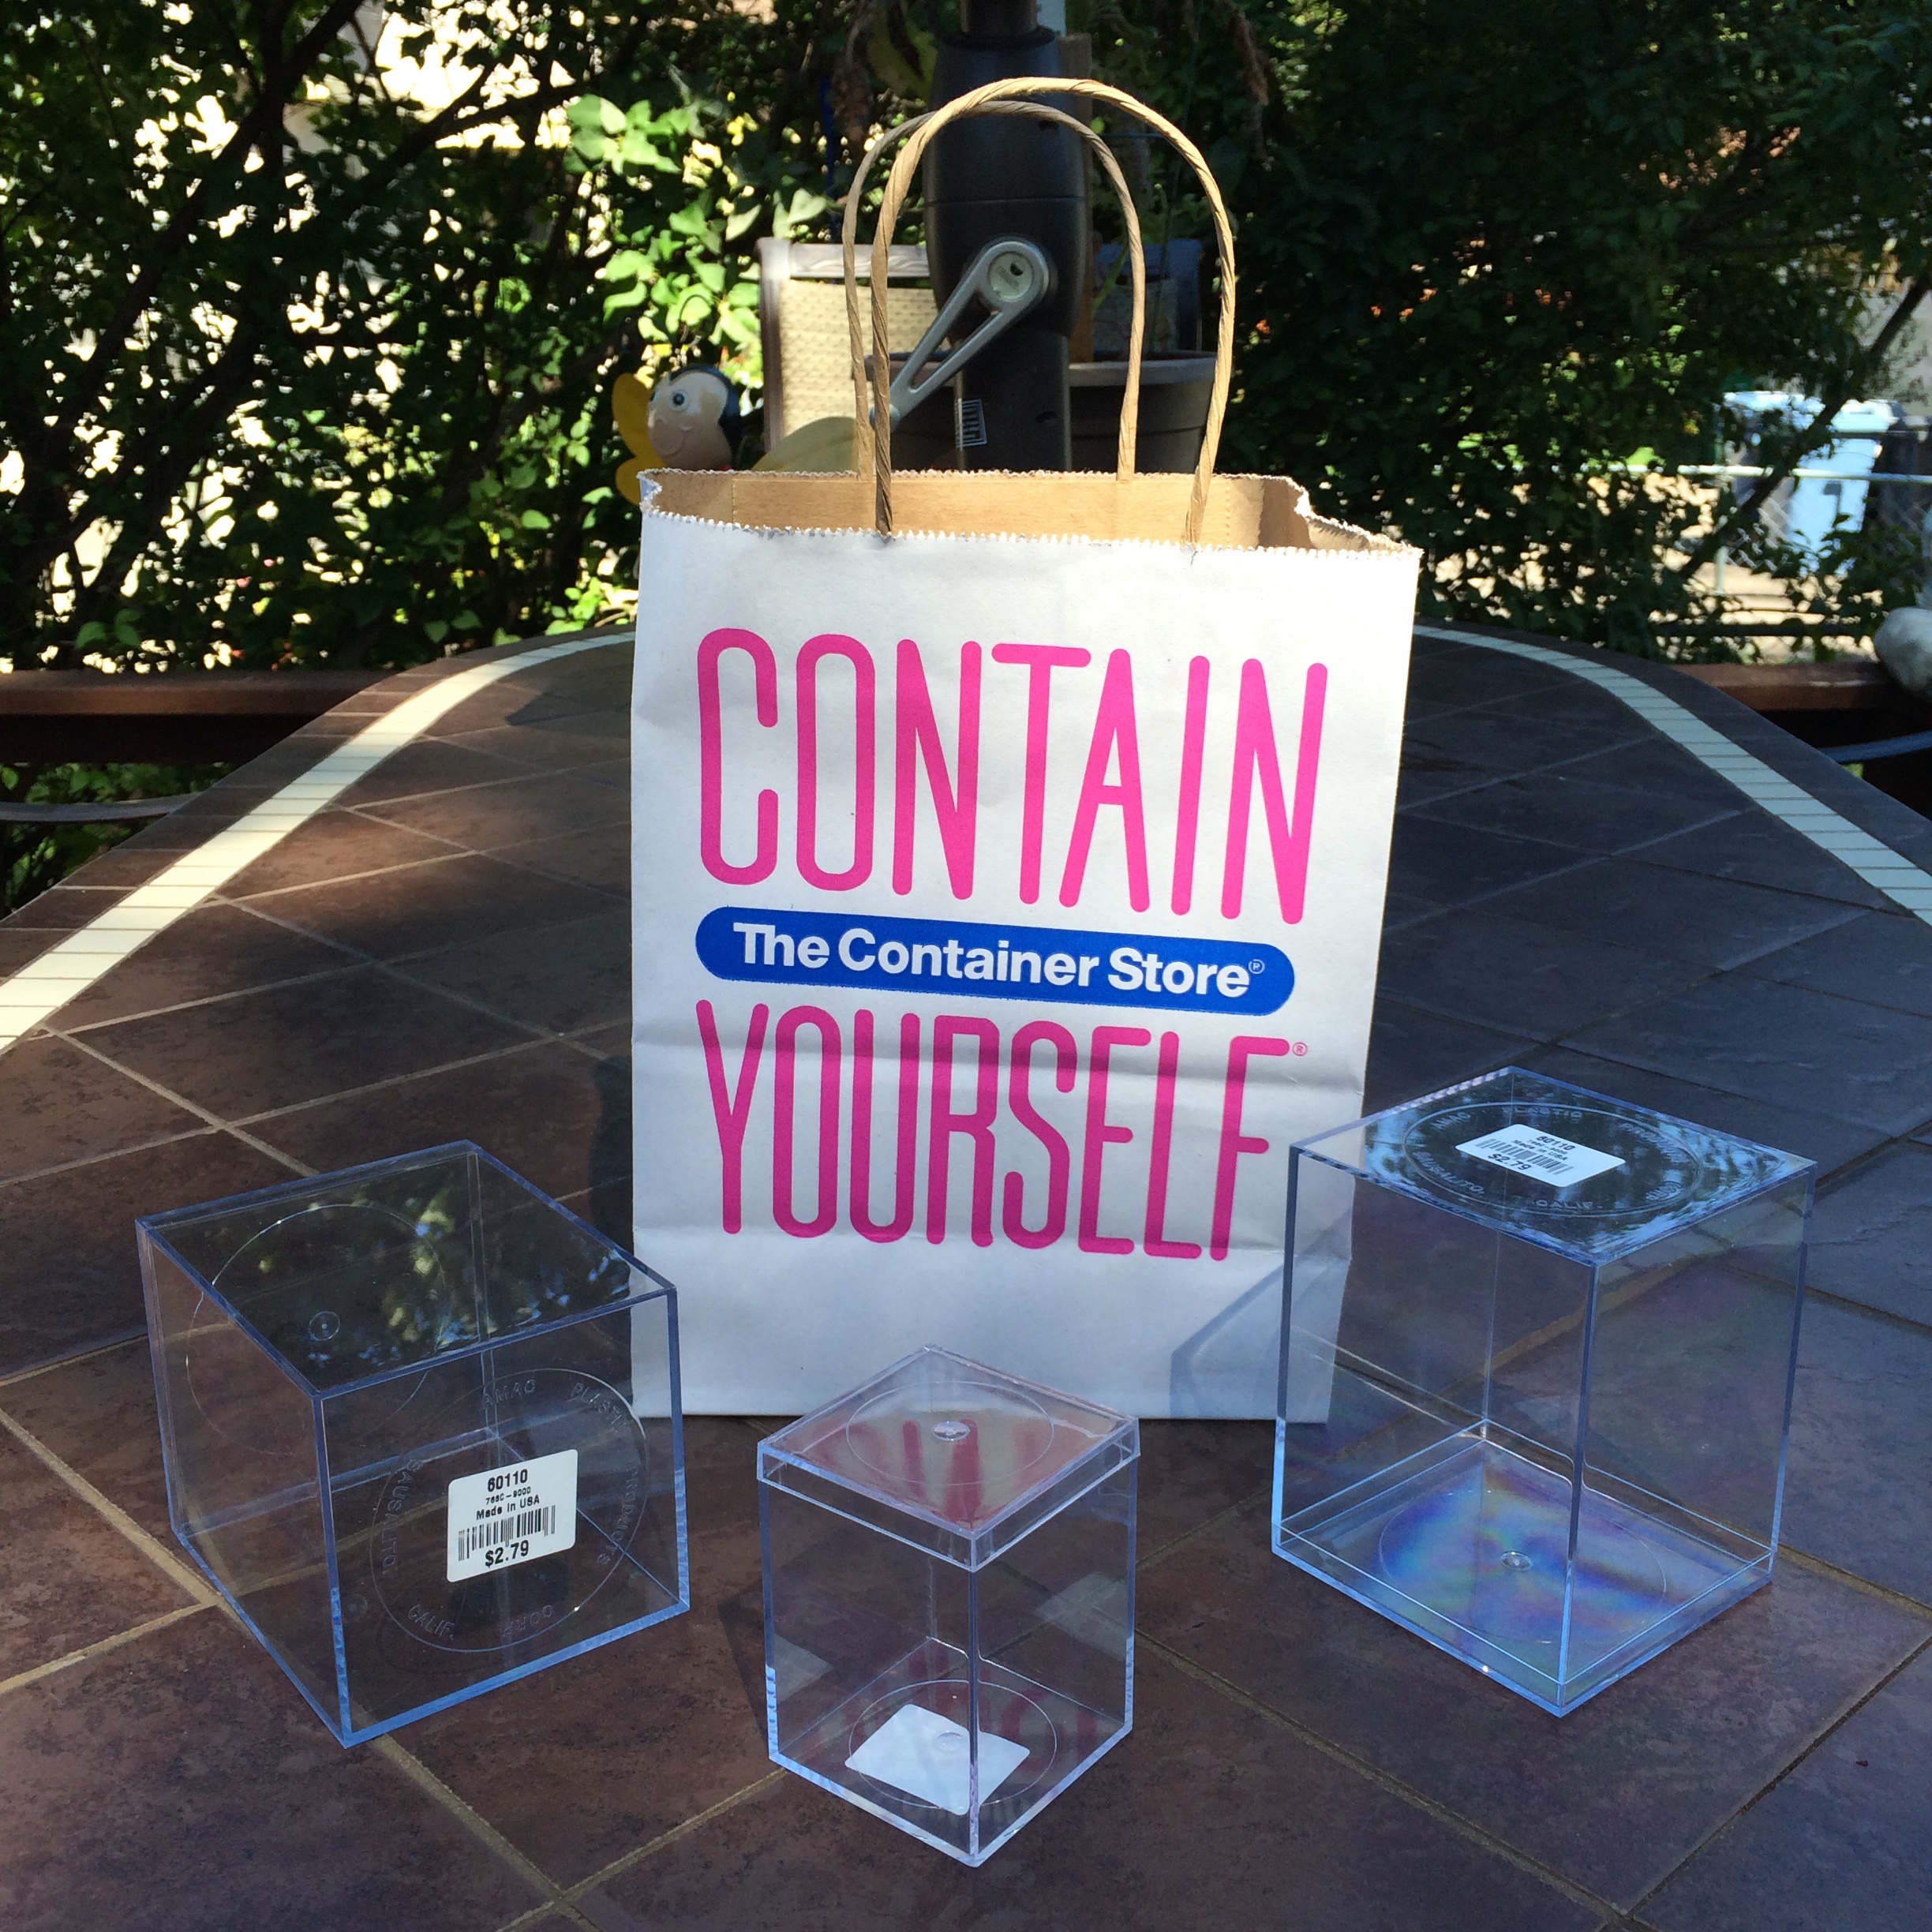
You may already have plastic storage boxes from past purchases in your stash or a round jar used upside down. The Container Store has a variety of sizes and shapes of containers with covers. If you’ve got a local store – great - or visit www.containerstore.com. The larger container (that I used) is 3-7/16” x 3-7/16” and 4-1/4” tall. It cost $2.79. The smaller container is 2-5/16” x 2-5/16” and 3” tall. It cost $1.49. You can use them vertically or horizontally – your choice, whatever works best for your display.
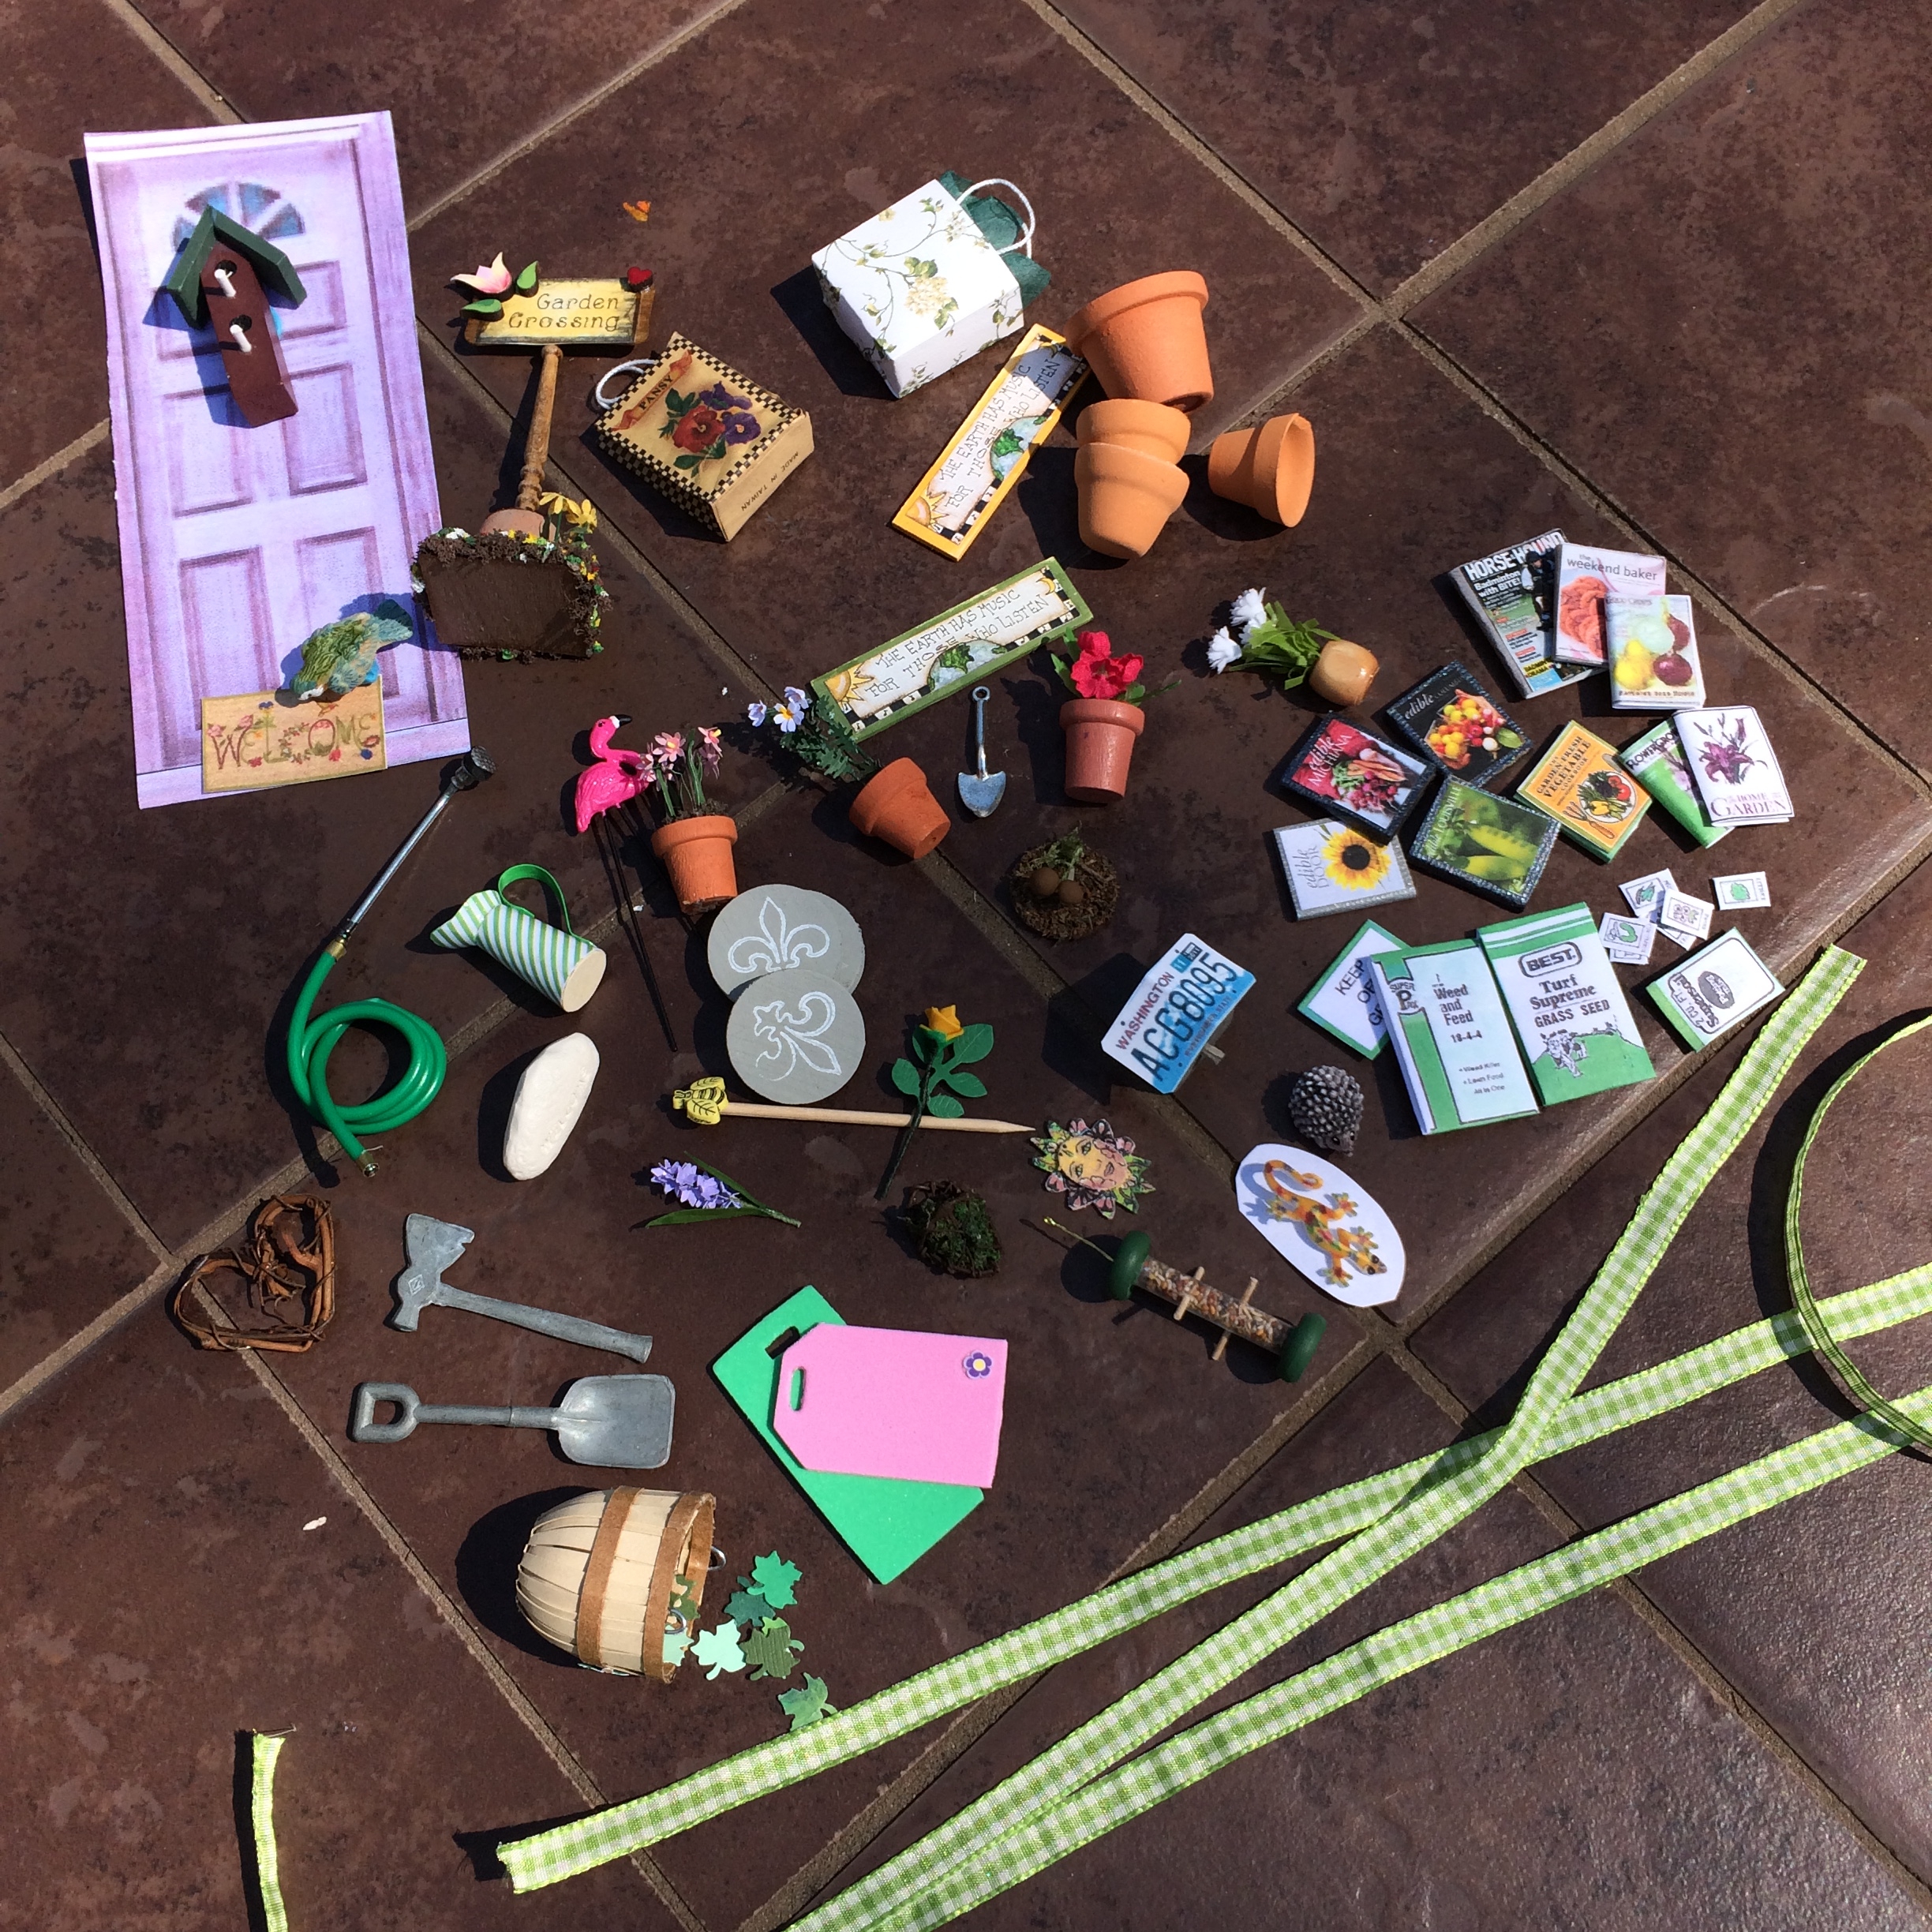
I picked out a variety of items to choose from.
Top of the Box (bigger section)
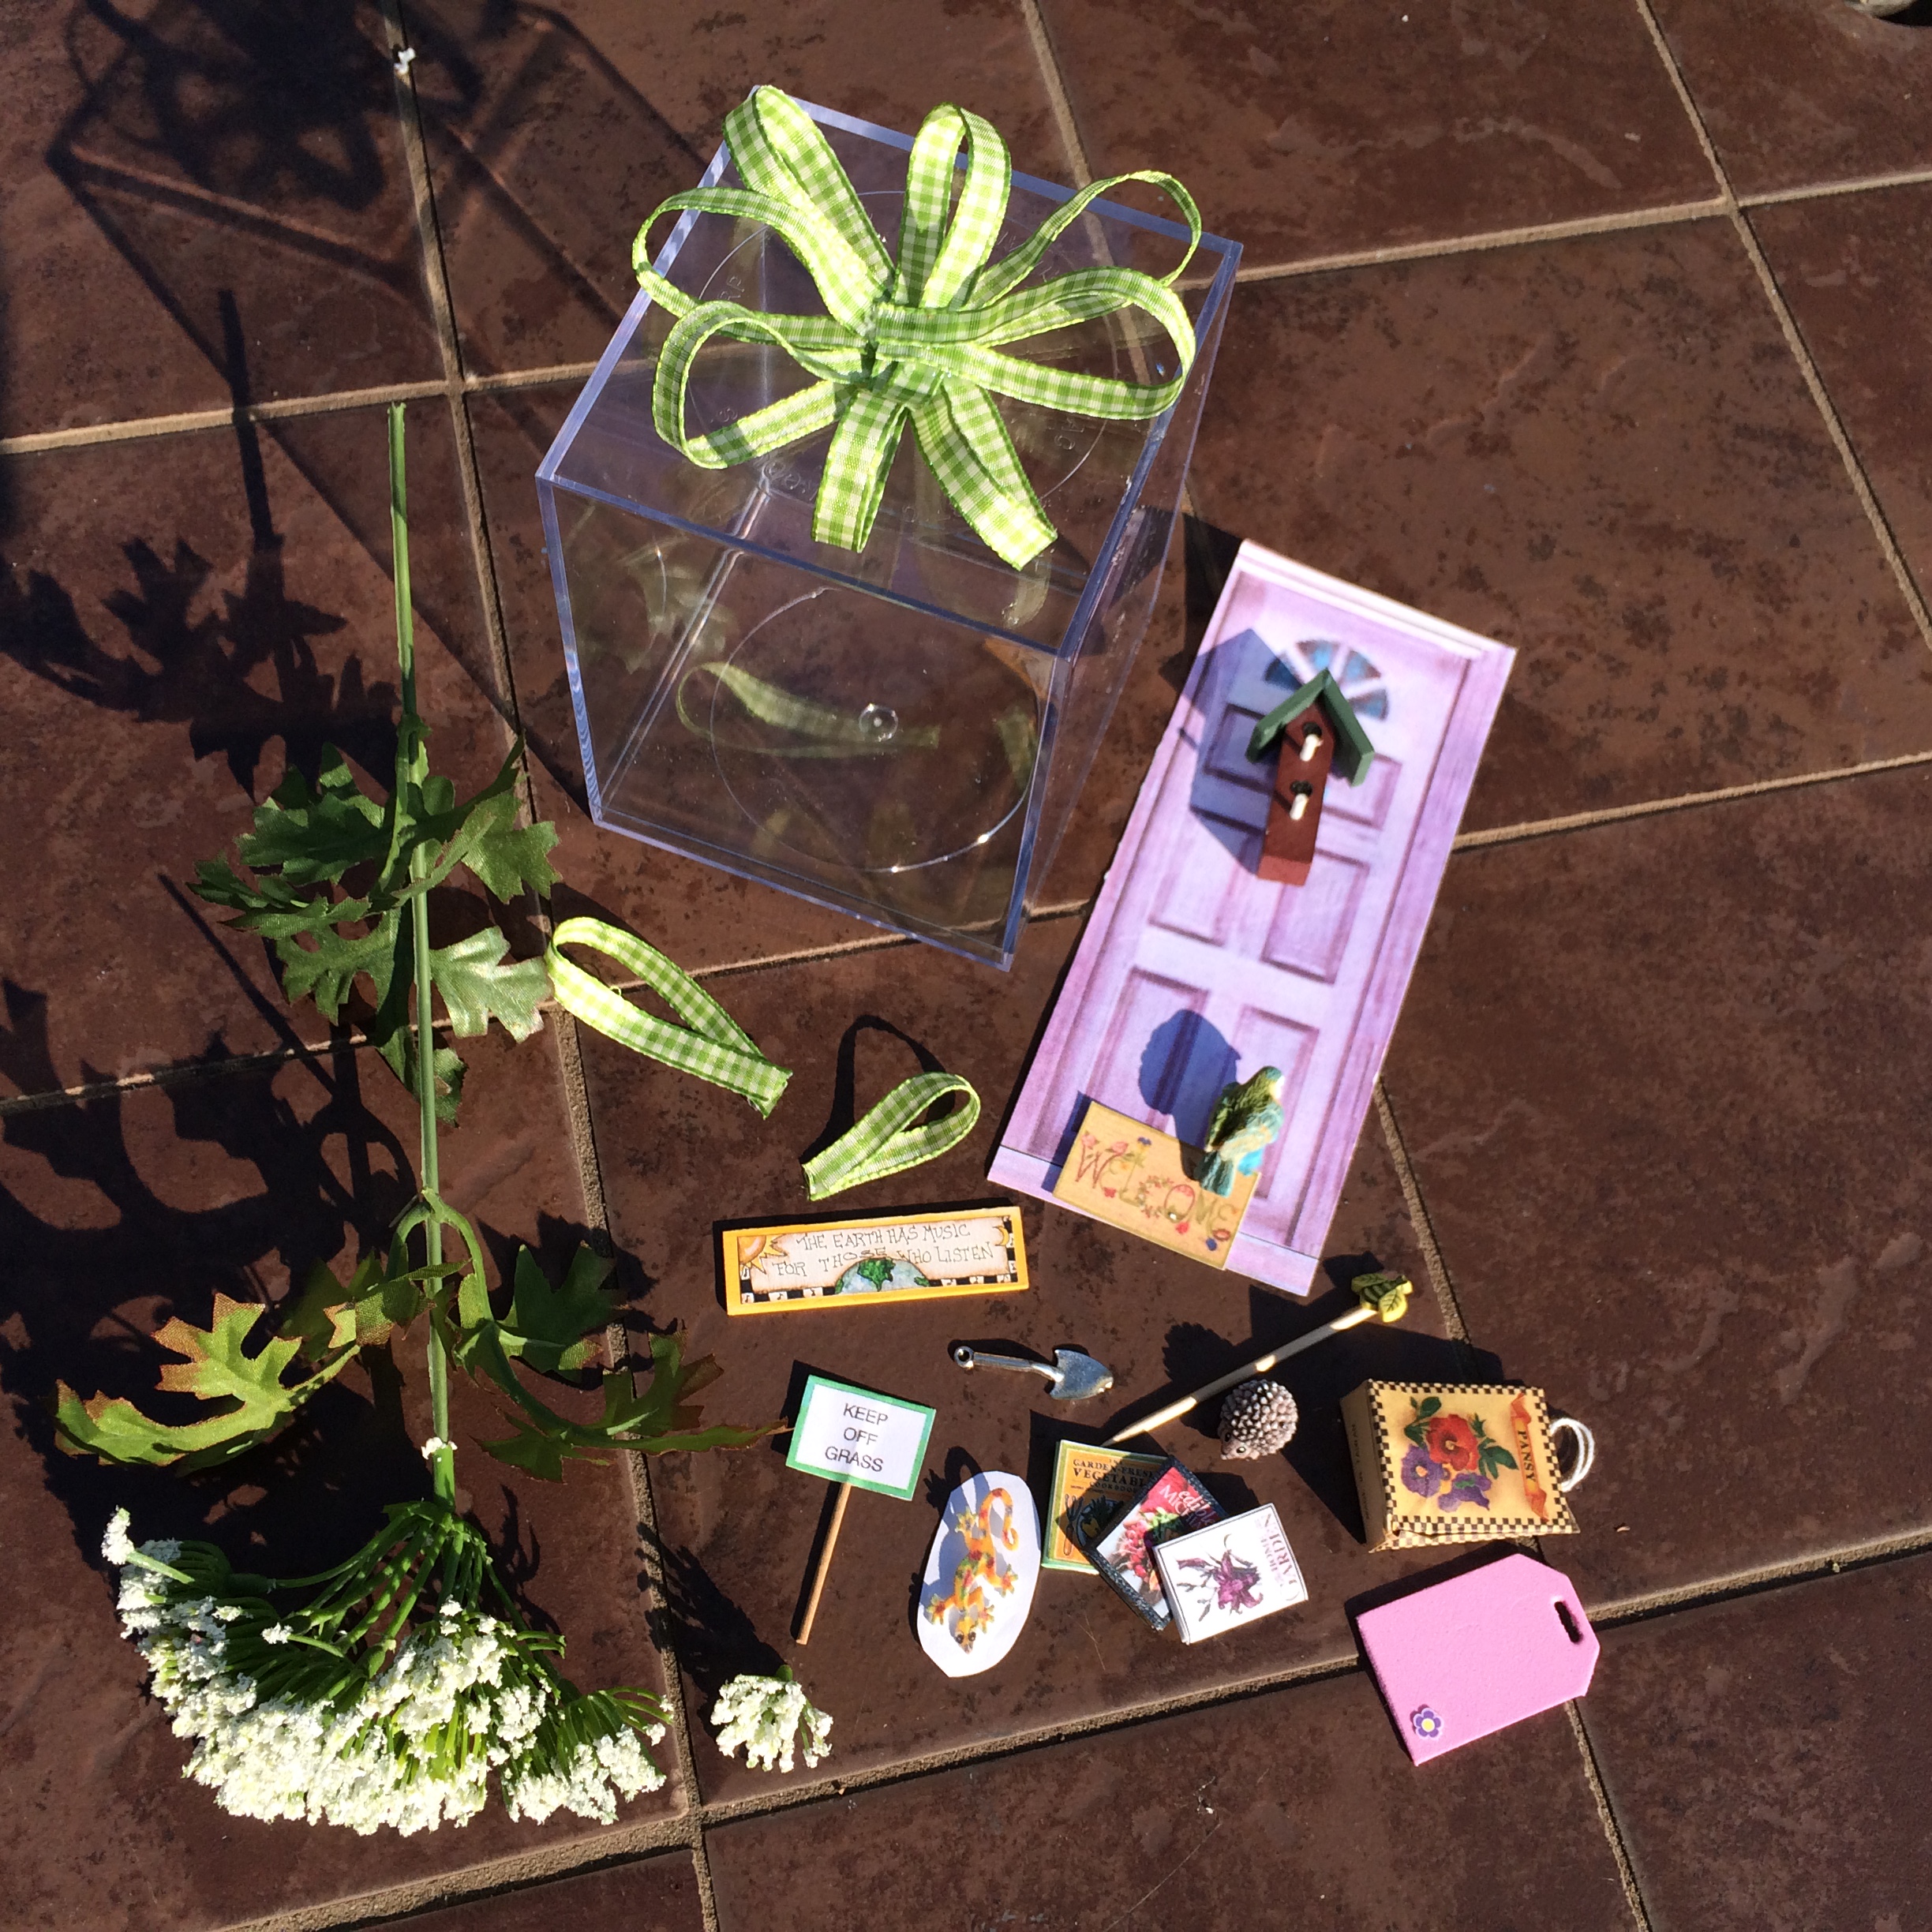
From all your treasures, pick out about 10 items that you want to display on the top of your box. I like a bow on top of my display. You can purchase a bow or make your own. I like making my own bows because I have control of the size, shape and number of loops. I use a hot glue gun to attach everything to the top of the box because it’s more durable and attaches quickly. Try not to get the hot glue strings on the sides of your box. If you get glue strings on the sides of your box, Goo Be Gone will get rid of them. Please use whatever glue you are comfortable with. For this bow, I made 8 loops (about 2 feet of ribbon total) that reach from the middle of the top of the box to just about the end of the top of the box. Space the loops evenly and overlapping around the center. I glued the ends of the loops together before I glued them to the box. Tuck and glue a couple of leaves under the loops. Without gluing, lay out your items on top of the bow. When you’ve got a layout you like, glue the items on. If you’ve got empty spots to fill, add additional loops or from the floral spray, tuck and glue some small blossoms in.
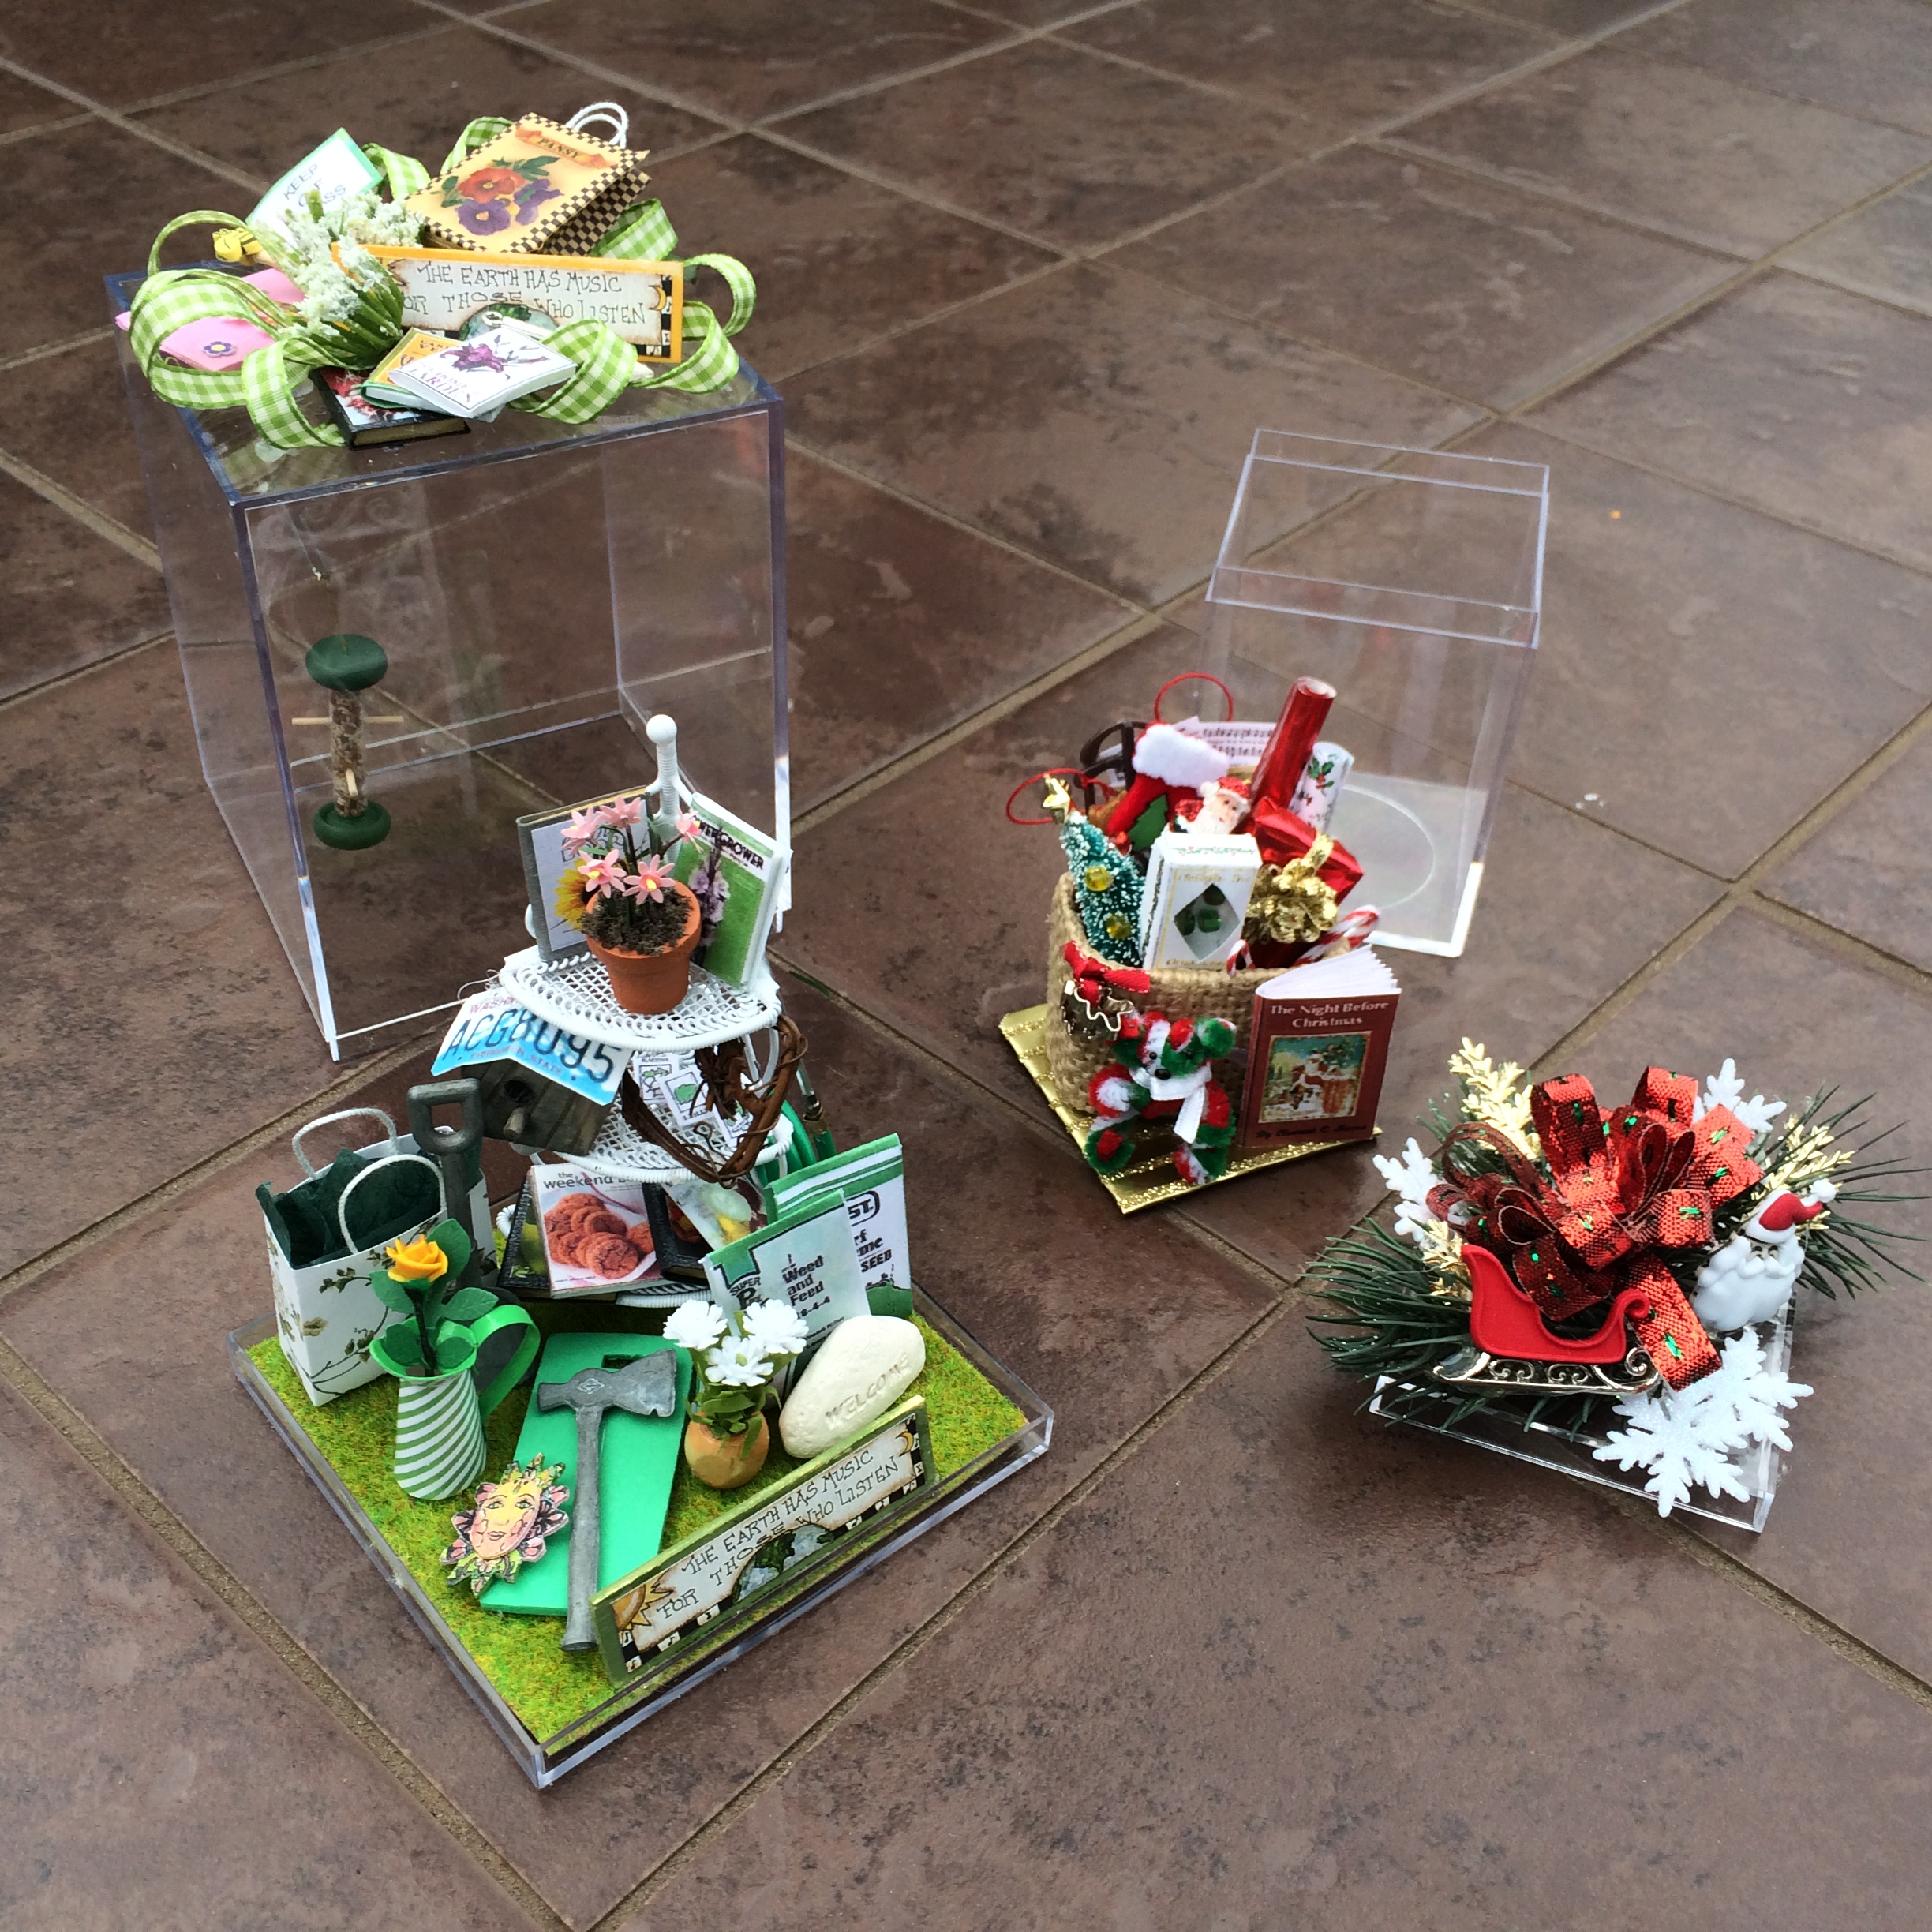
Note: As you can see in the 6th photo, the bottoms and tops are different. In the garden box, the top is the taller piece. In the Christmas box, the top is the smaller piece. It’s up to you but I feel using the small piece for the top is sturdier and stays together better.
Bottom of the Box (smaller section)
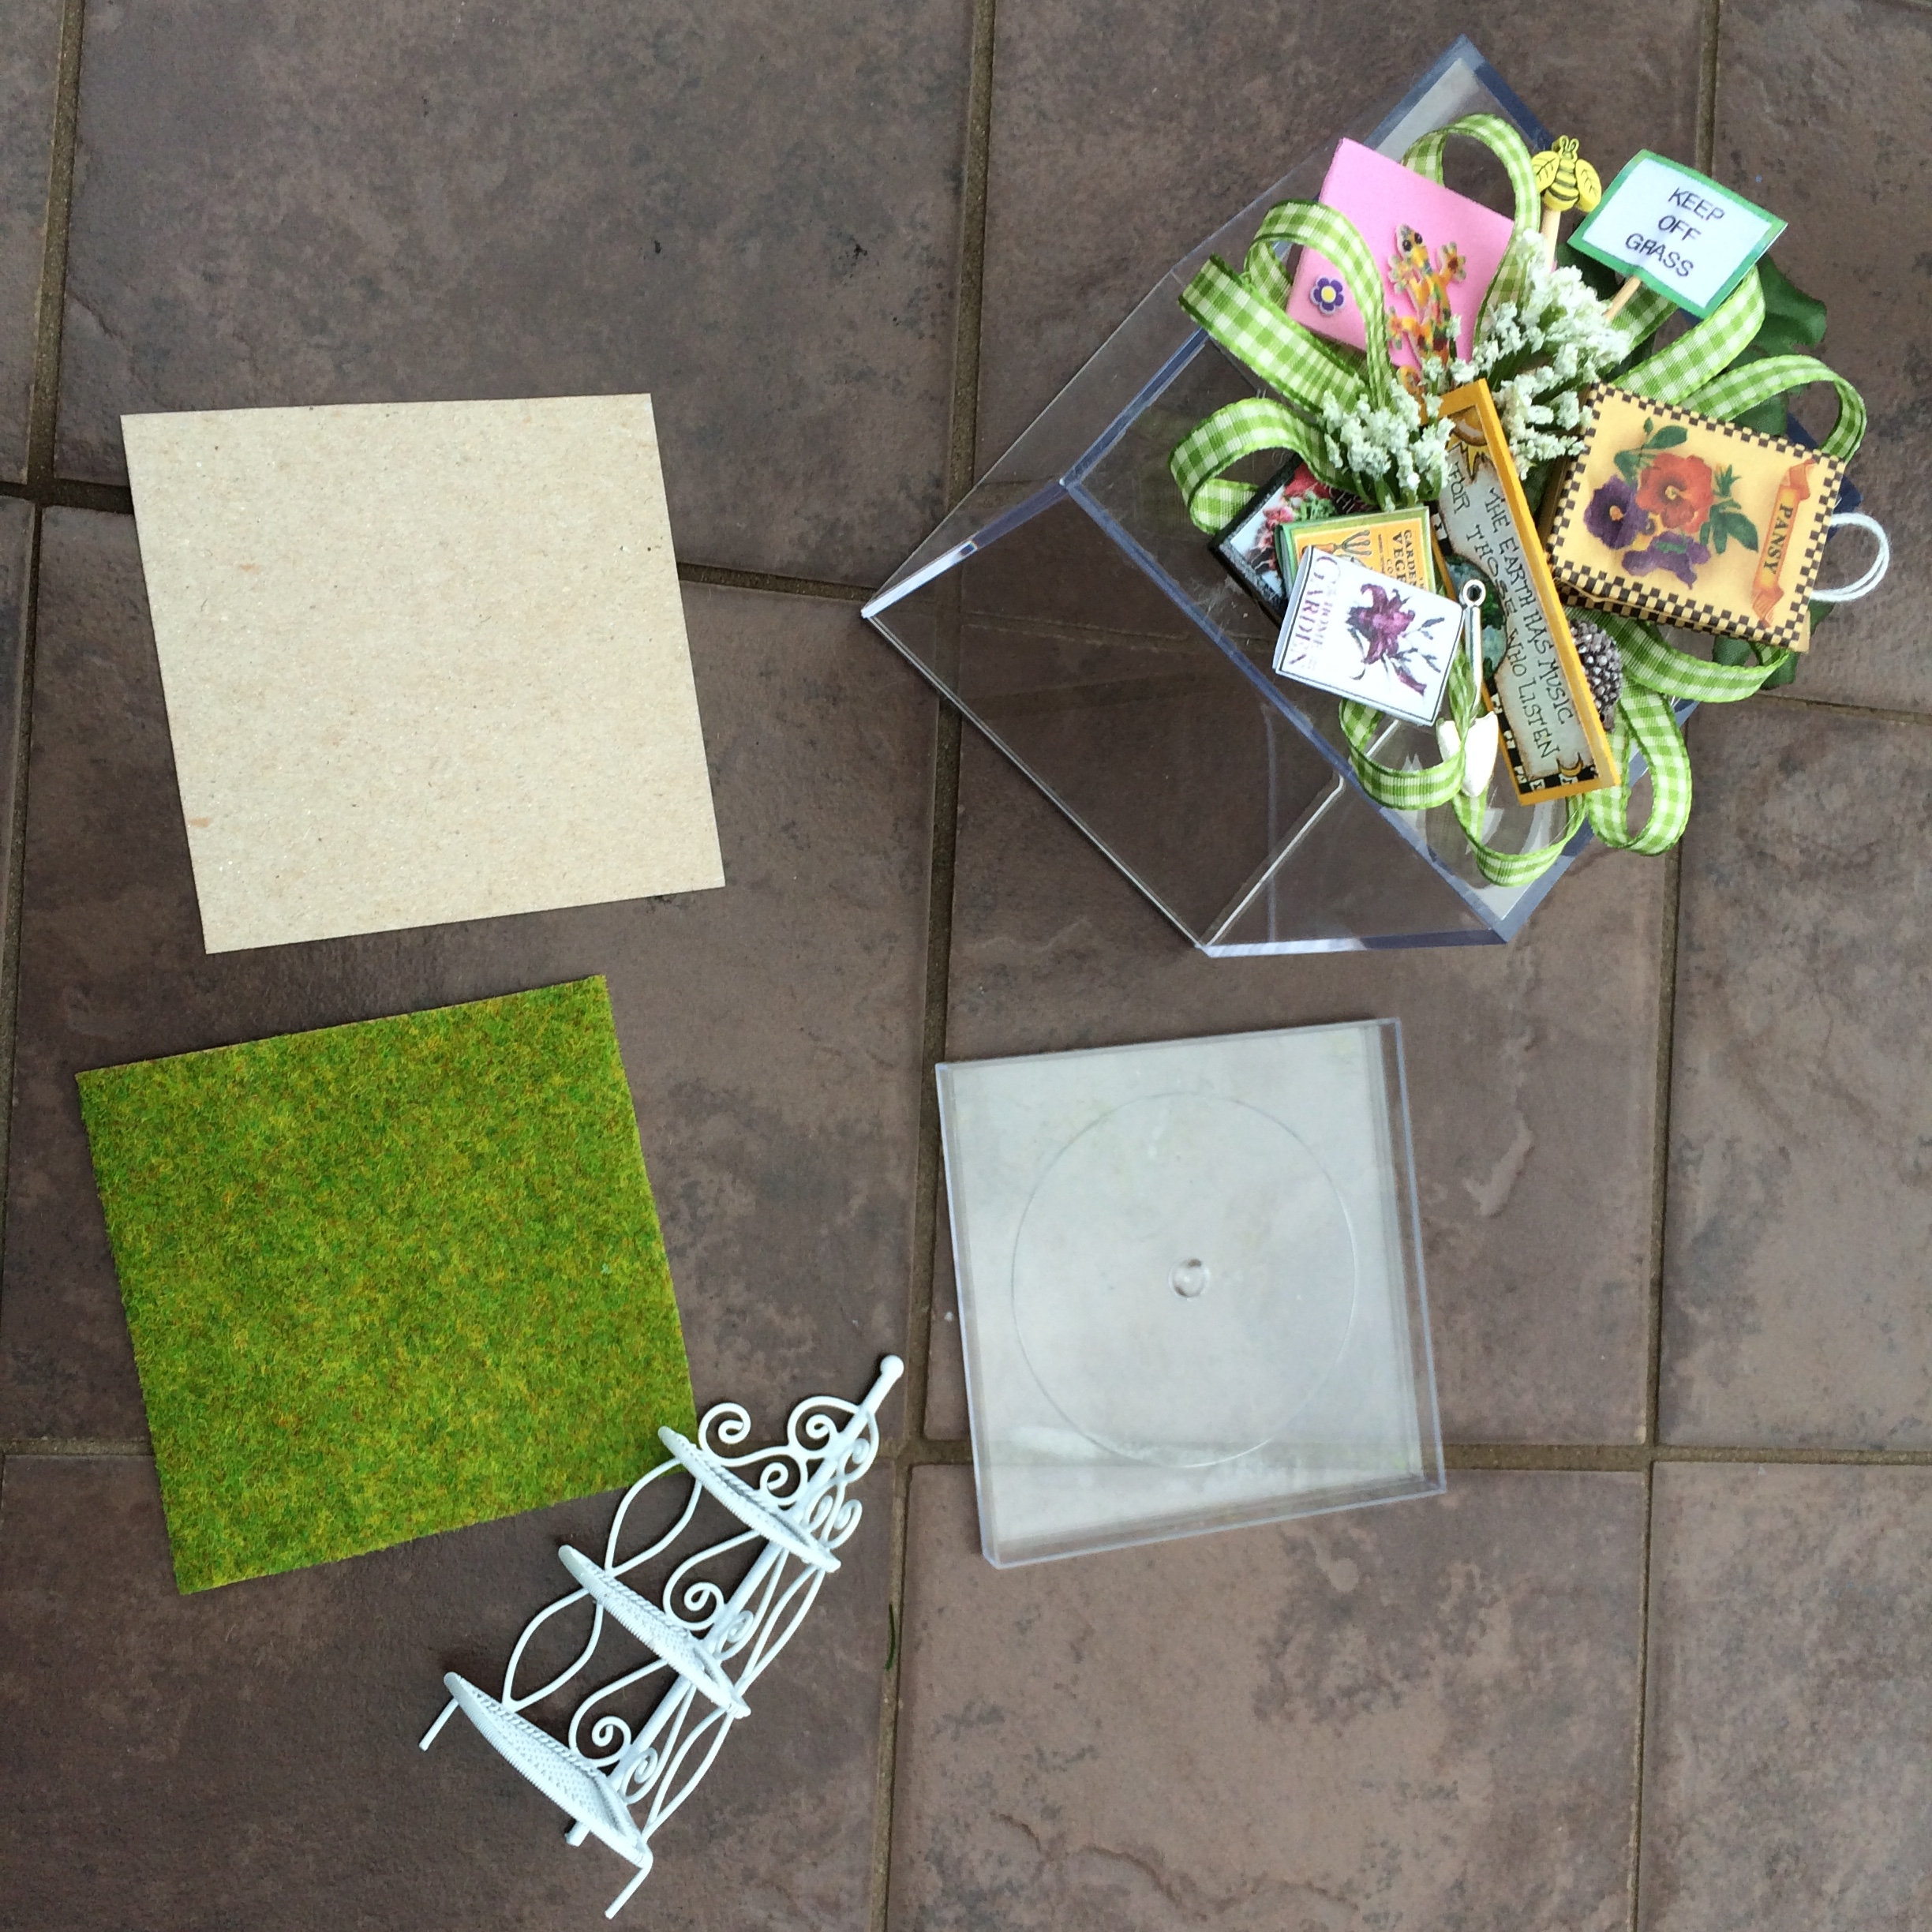
To display inside the box. Cut a piece of lightweight cardboard and green grass cloth (or any kind and color paper) to fit in the bottom. Glue the cardboard and green grass cloth together. I did not glue the cardboard/grass cloth to the bottom of the box. Test fit to make sure the box will close. Trim as needed. I used a three shelf unit, to help display more minis and prop up others. You could also use a chair or a box, like I did in the Christmas box. I made a box out of cardboard and wrapped it in burlap type cloth. Like the top, put together a pleasing layout. Be sure the cover will fit. I used a hot glue gun here too.
Did you notice the green bird feeder I hung from the top (inside, front left) of the box? To create more interest, try to display minis at the back and sides of the box. I attached a hose to the side of the shelf. Did you notice any of your Seattle minis?
I hope you liked the project and it will lead to similar projects for you!
Having trouble with the website? Please click here to contact us about it.